*FYI - this post may contain affiliate links, which means we earn a commission at no extra cost to you if you purchase from them. Also, as an Amazon Associate I earn from qualifying purchases. Check out our Privacy Policy and Disclosure. for more info.
Wondering how to fold dumplings?
Proper dumpling folding is an art that takes lots of time, patience, and most importantly: practice!
Very few people nail dumpling pleating on their first try, but hey, unlike most mistakes in life, you can actually eat these ones.
So, put on some relaxing music, and get ready for an overview of the many ways you can fold dumplings, plus tips to ensure your dumpling endeavours are a roaring success. (You might also find my roundup of what to serve with dumplings useful!)
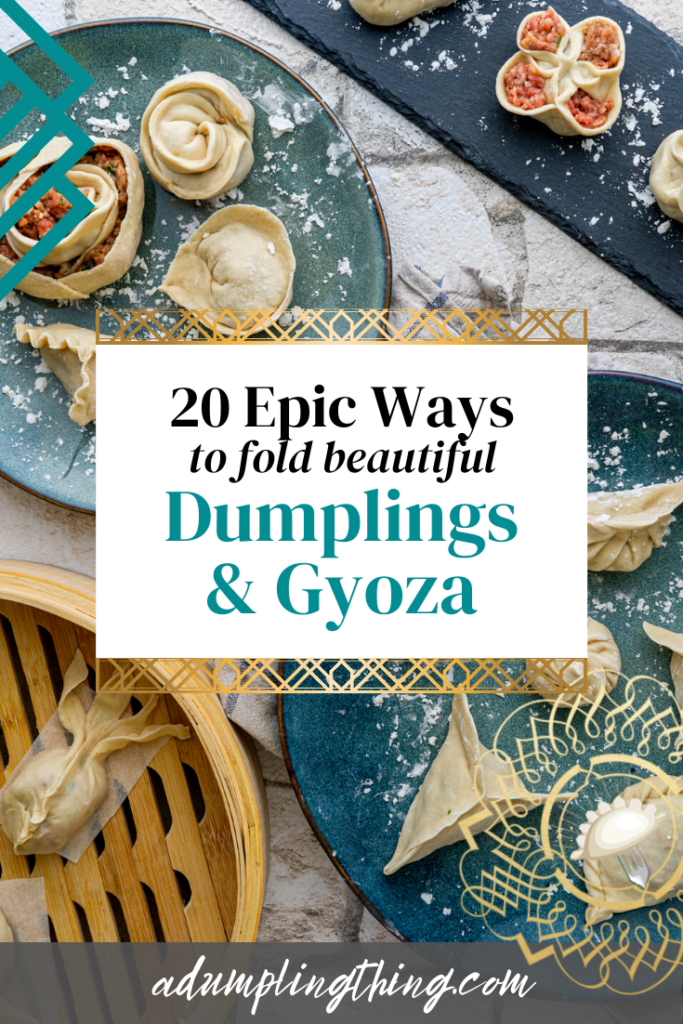
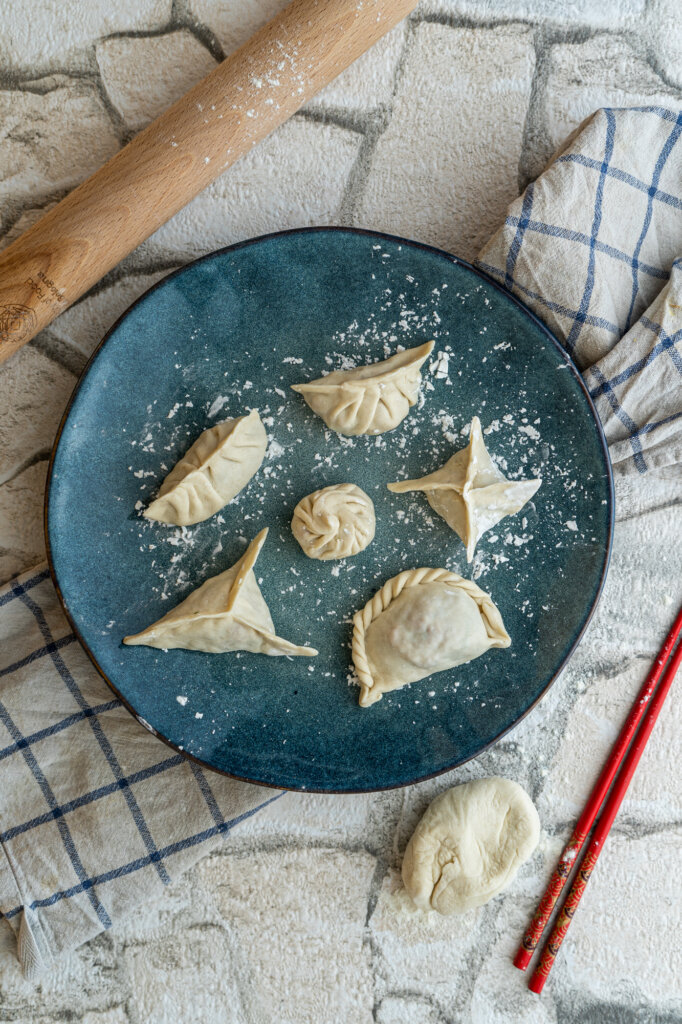
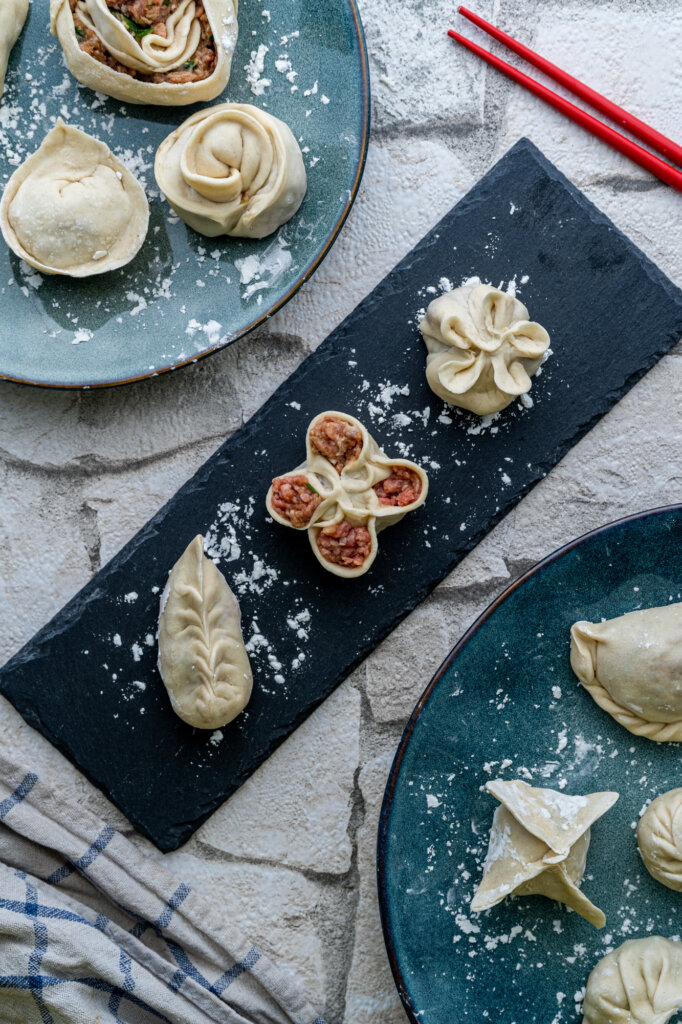
Below, you’ll find 20+ methods for folding dumplings, starting with easy dumpling folds for beginners, then moving upwards in difficulty to (admittedly more challenging) artistic masterpieces that are as gorgeous as they are tasty.
NOTE: The names I’ve assigned these dumpling folds are pretty random and not at all official names… just FYI in case you’re trying to Google them again later or something! They are also all intended for circular dumpling wrappers, rather than square ones.
Save this post on Pinterest for later:
A Few Basic Tips/Rules of Thumb for Folding Dumplings
If you’re new to folding dumplings, it may be helpful to go over a few basic tips and rules.
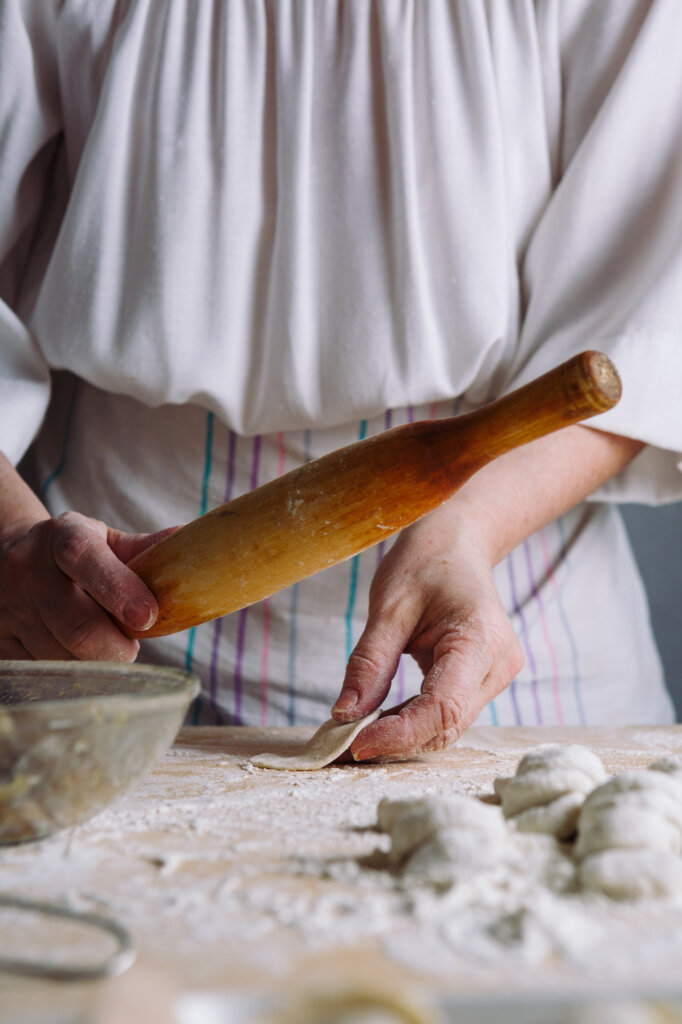
Homemade Wrappers are Easier to Fold
Don’t ask me why – they just are! The consistency of fresh, homemade wrappers is more akin to playdough than the storebought ones, so they’re way more malleable and easy to fold.
This isn’t to say that storebought wrappers can’t be used for unique dumpling folds, but they really do lend themselves more to the standard pleated folds.
Always Wet the Edges of Your (Store Bought) Dumpling Wrappers
When using storebought wrappers, having a little bowl of water handy when you’re wrapping dumplings is essential so that you can add a bit of water to the edge of each dumpling, which helps ensure they are properly sealed.
Remember, sealing your dumplings completely is important, otherwise the filling might escape while boiling or frying, which can cause painful oil splatters, or otherwise very depressing, watery dumplings.
If you are using very fresh homemade wrappers, the water may not be needed as fresh dough can usually seal very well on its own without water’s help.
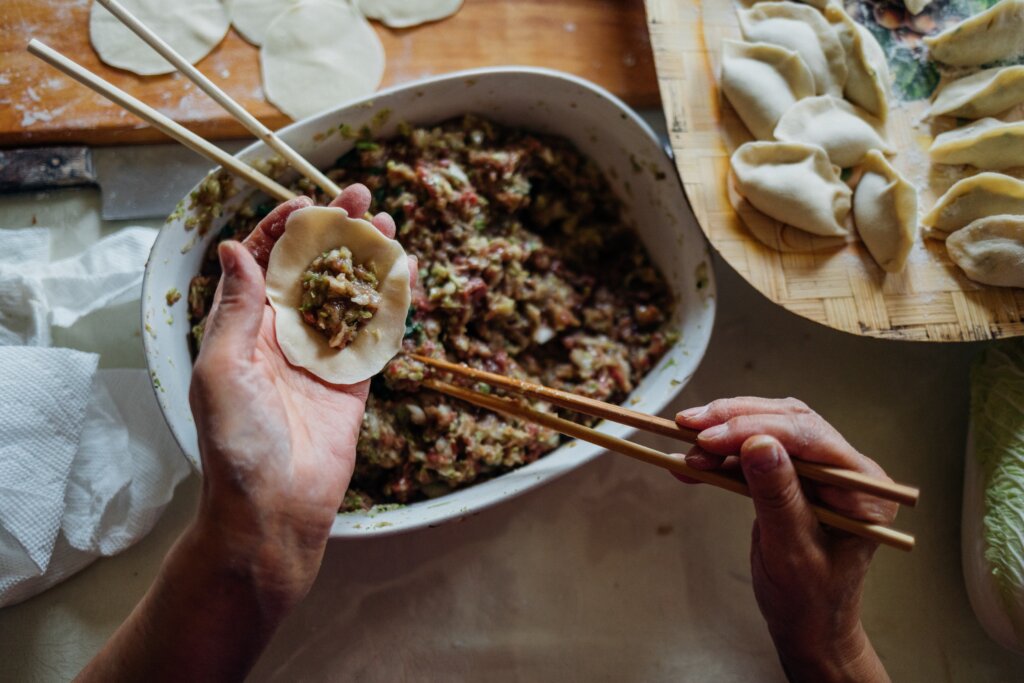
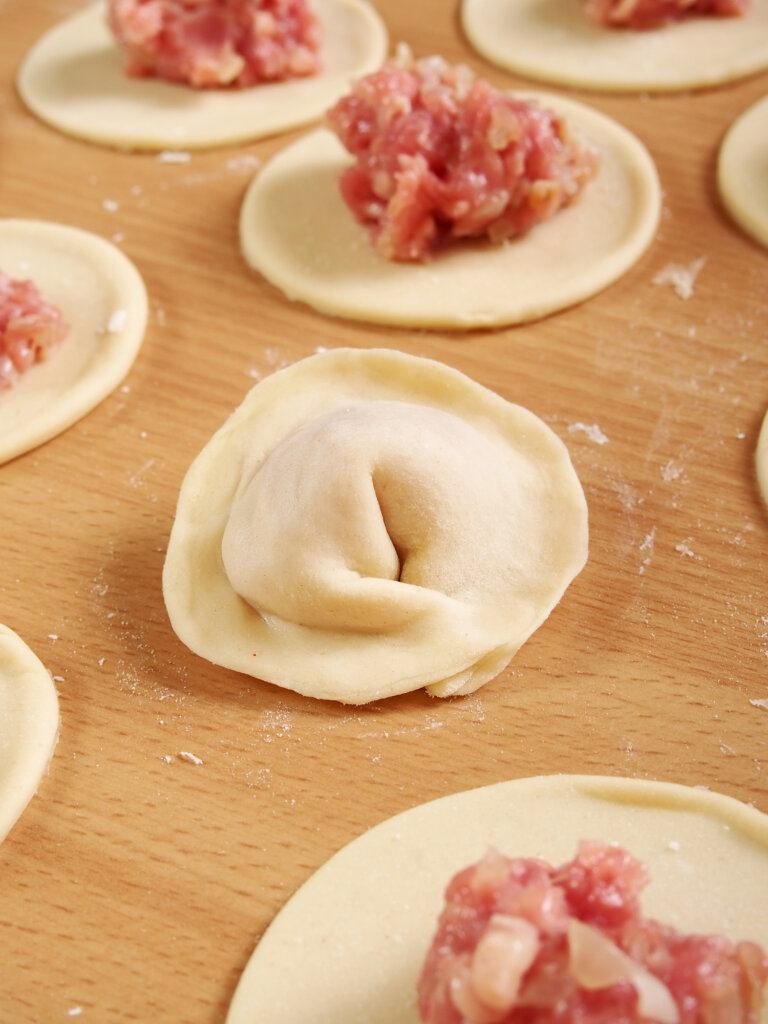
Less Filling = Easier Folding
If you’re new to folding dumplings, I would advise underfilling your dumplings slightly. This is because many newbies tend to add a huge glob of filling, only to have most of it gush out when they start trying to seal/fold.
Having less filling inside leaves more room for error, and the dumplings will still be delicious – don’t worry!
Alright, with those basic dumpling folding tips out of the way, here are some dumpling folding techniques for you to try and master!
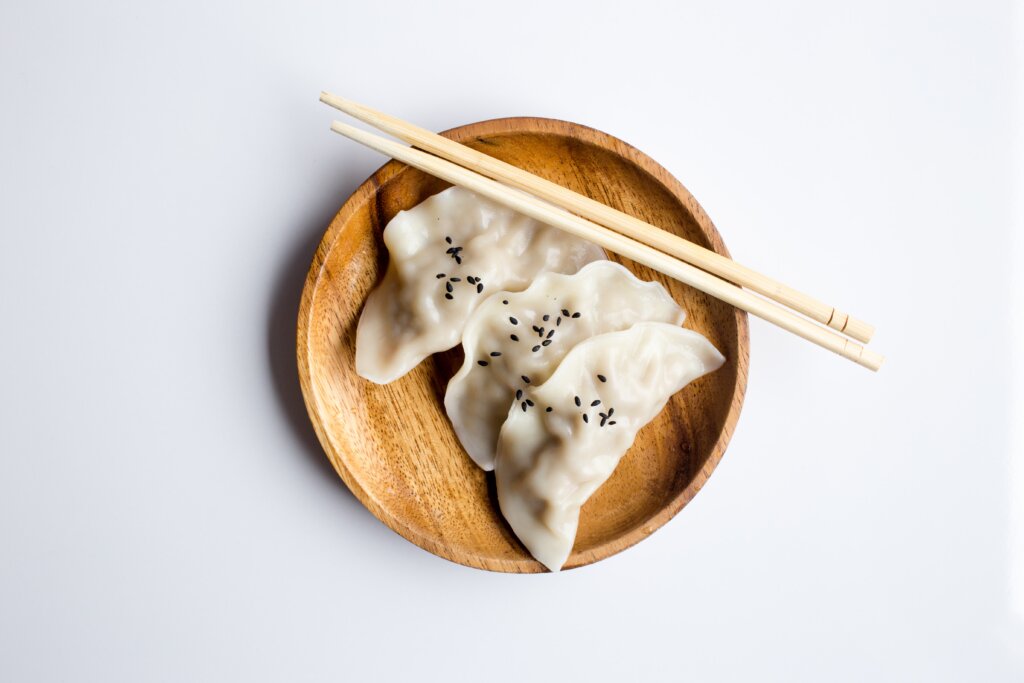
The Simple Moon Dumpling Fold
By far, the easiest way to fold dumplings is the Simple Moon Dumpling Fold, which involves putting your filling in the middle, then wedding the edges of the wrapper before you fold the wrapper over in half, and seal the edges tightly.
This is a basic fold that involves zero pleating, but that makes it all the more important that you seal the edges very firmly shut, otherwise your filling might escape while cooking!
The Dumpling Press Fold
Of course, if you want dumplings that look a little fancier with minimal work, another option is to simply buy a dumpling press like this one. It’s a super affordable dumpling tool with amazing reviews, and can help you save loads of time if pleating and folding isn’t your strongsuit.
BONUS: You can easily use them to prepare other dumpling types from around the world.
The Twisted Edge Dumpling Fold
A simple way to prettify the basic Simple Moon Dumpling Fold is to twist inwards and create a little rope effect on the edge of the dumpling.
To accomplish this, you simply place your filling in the middle, fold it in half, seal it shut, then twist the edges inwards to create a little rope effect.
You can watch this dumpling folding technique in action here.

The Circular Twisted Edge Dumpling Fold
Another variation of the Twisted Edge Dumpling Fold is to simply using two wrappers to create a full circle dumpling that has a ropey edge.
To do this, you place one wrapper down and fill it with a larger heaping of filling than normal, then you place another wrapper on top and seal the edges until the filling is all secure.
Then, as you did above, simply twist the edges inwards to create a nice roped border effect.
You can watch this dumpling folding technique in action here.
The Rosebud Dumpling Fold
This simple tortellini-inspired dumpling fold is super beginner-friendly, and involves placing your filling in the middle, and folding the wrapper in half to seal it shut, then folding the corners inwards towards the middle and joining them to create a cute rosebud shape.
You can watch this dumpling folding technique in action here.
The Folded Ends Dumpling Fold
Another very basic and easy dumpling fold is the Folded Ends Dumpling Fold, which involves putting your filling in the middle, folding the wrapper in half, then folding/pinching in each side towards the middle before sealing it shut.
You can watch this dumpling folding technique in action here.
The Standard Pleat Dumpling Fold
This is my go-to method for sealing dumplings because it’s fun, classic, and easy (once you get the hang of it). This is probably the most common dumpling pleat you’ll find out there, and if it’s an iconic dumpling look you’re going for, this is the dumpling folding technique to use!
You start by placing your filling in the middle, and folding the wrapper in half before you pinch down the very center and fold inwards three times (or more if you want a more pleated look!) on each side. Then you firmly press it shut and admire your handiwork!
You can watch this dumpling folding technique in action here.
The Crescent Moon Pleated Dumpling Fold
Similar to the last dumping folding technique I shared, this crescent moon pleat is another popular fold that will get you the iconic dumpling look.
In this variation, you place your filling in the middle, fold the wrapper in half, and instead of pinching in the middle and pleating on each side, you simply start pleating and folding in from one end until you reach the other side.
You can watch this dumpling folding technique in action here.
The Triangle Dumpling Fold
For a more unique dumpling shape that’s impressive yet pretty easy to do once you get the hang of it, consider folding your dumpling into a triangle!
To do this, you simply put the filling in the middle, fold the wrapper in half, seal one half of the wrapper shut, then fold the other half inwards so that the middle points match up.
You can watch this dumpling folding technique in action here.
The Wavy Triangle Dumpling Fold
For a fancier take on the traditional Triangle Dumpling Fold, consider making the edges wavy!
For this Dumpling Folding technique, you follow the steps listed above, so you put the filling in the middle, fold the wrapper in half, seal one half of the wrapper shut, then fold the other half inwards so that the middle points match up.
Then, you use your thumb to pinch and push the edges inwards, so that it creates a wavy pattern. Repeat this for each edge until you have the desired wavy look.
You can watch this dumpling folding technique in action here.
The Quadrangle Dumpling Fold
Another unique dumpling shape to try is the Quadrangle Dumpling Fold, which involves putting the filling in the middle and pinching in all four corners at once until they meet equally in the middle.
You can watch this dumpling folding technique in action here.
The Wavy Quadrangle Dumpling Fold
Again, another way to make the quadrangle dumpling a bit fancier is by waving up the edges, so you start with a basic quadrangle fold (put the filling in the middle and pinch in all four corners at once until they meet equally in the middle).
Then, you use your thumb to pinch and push the edges inwards, so that it creates a wavy pattern. Repeat this for each edge until you have the desired wavy look.
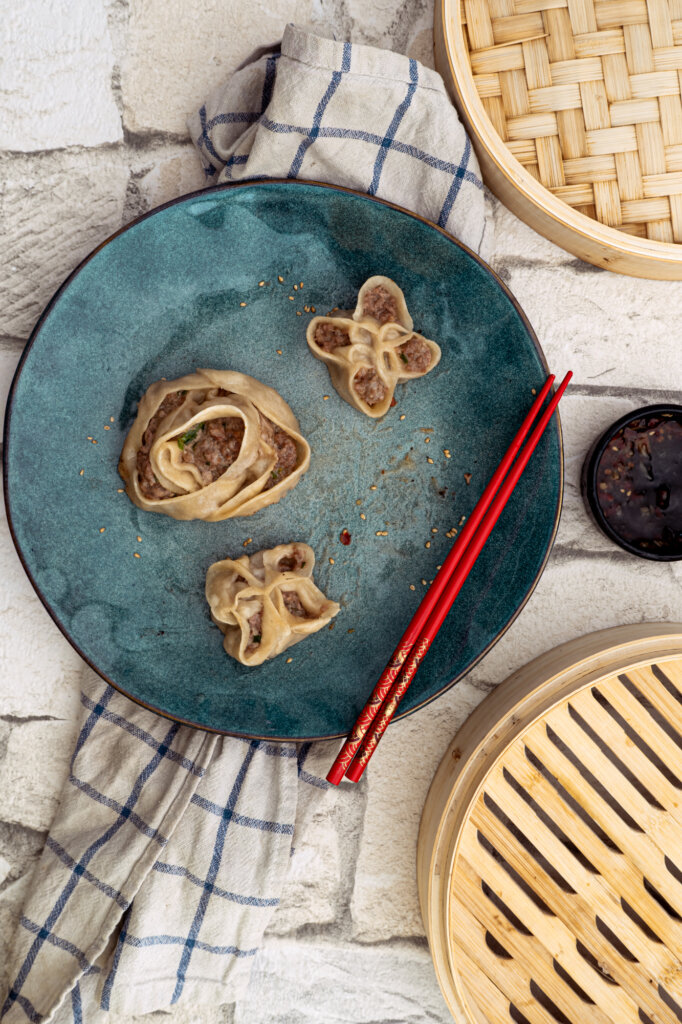
The Braided Dumpling Fold
This beautiful dumpling fold can be tricky to figure out at first, but once you get the hang of it, you’ll be making gorgeous braided dumplings with ease!
To fold your dumplings in this way, put your filling in the middle, then fold your wrapper in half (but don’t seal it) like a taco. Then you start by pinching one corner together, and then folding inwards on one side, then the next. Alternate your pleats on each side until you’ve reached the end.
This one can be a tricky one to understand based on written explanations, so be sure to watch this dumpling folding technique in action here.
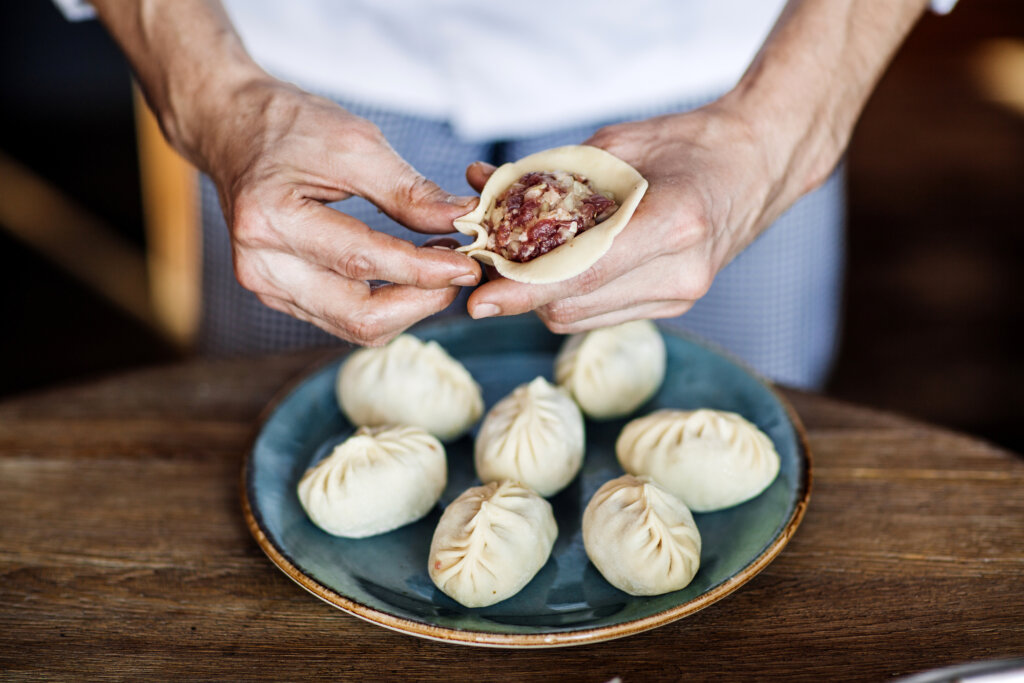
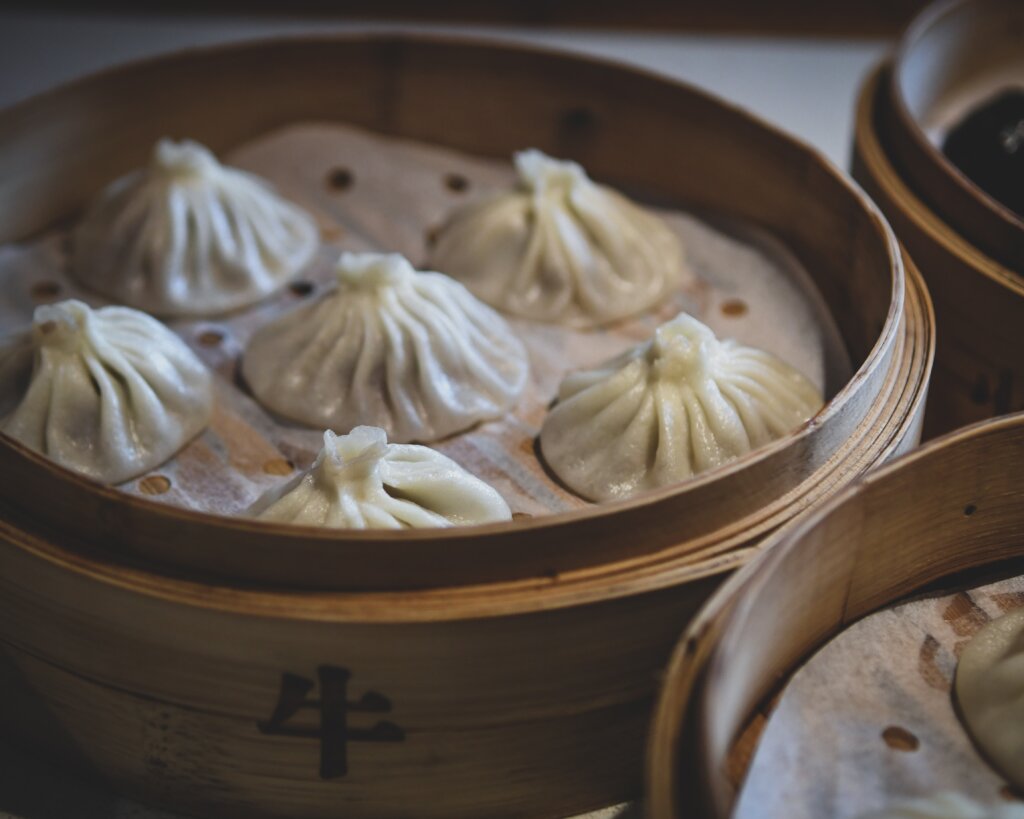
The Baozi Folded Dumpling Fold
This iconic dumpling fold is commonly used for Xiao Long Bao (AKA soup dumplings), and other Baozi. It has picture perfect results, but does require a bit of practice!
To achieve this perfectly pleated baozi dumpling look, you scoop some filling into the middle of your wrapper, then fold inwards, using your thumb to hold the first fold, then making multiple additional pleats with your index finger.
If that written explanation sounds a bit too confusing (I know it did!), you can watch this dumpling folding technique in action here.
The Closed Rose Dumpling Fold
Another gorgeous way to fold dumplings is by using your dumpling wrappers/fillings to make a rose!
This dumpling folding technique is surprisingly easy. All you need to do is lay down three wrappers in overlapping circles, then pressing down to ensure they’re all stuck together (use water if you need to). Then, you lay the filling down in a line across the three wrappers, and fold over the bottom of the wrapper to seal the filling shut.
After the three wrapper edges are completely sealed, you simply roll the wrappers from one side to the next until you get a beautiful rose shape.
You can watch this dumpling folding technique in action here.
The Open Rose Dumpling Fold
Another variation of the Rose Dumpling Fold is the open rose, which has some exposed filling for a different, unique look.
To make an Open Rose dumpling, you lay down three wrappers in overlapping circles, then press down to ensure they’re all stuck together (use water if you need to). Then, you lay the filling down in a line across the three wrappers, and fold over the bottom of the wrapper to the midway point, so that the filling is partially covered, but not completely sealed in.
Then, you roll the wrappers from one side to the next until you get a nice rose shape.
You can watch this dumpling folding technique in action here.
The Flower Dumpling Fold
For another gorgeous flower-inspired dumpling folding technique, you can place some filling in the center of a wrapper, then fold inwards 4 times to create a star shape (similar to the Triangle or Quadrangle dumpling folds explained earlier).
Then, fold the edges back inwards to join the middle to create curved “pedals” that end up making the prettiest dumpling flower.
You can watch this dumpling folding technique in action here.
The Open Flower Dumpling Fold
For a flower dumpling folding technique that showcases more filling, try this: place your ball of filling in the middle of the wrapper, then pinch both sides inwards to join in the middle, just like in the Quadrangle fold, but making sure you don’t seal them.
You should have four pedal-esque openings in each corner. Now, simply pinch in between every two “pedals” to join them, creating four mini pedal openings in the middle.
Again, this is a confusing one to grasp without a video, so you can watch this dumpling folding technique in action here.
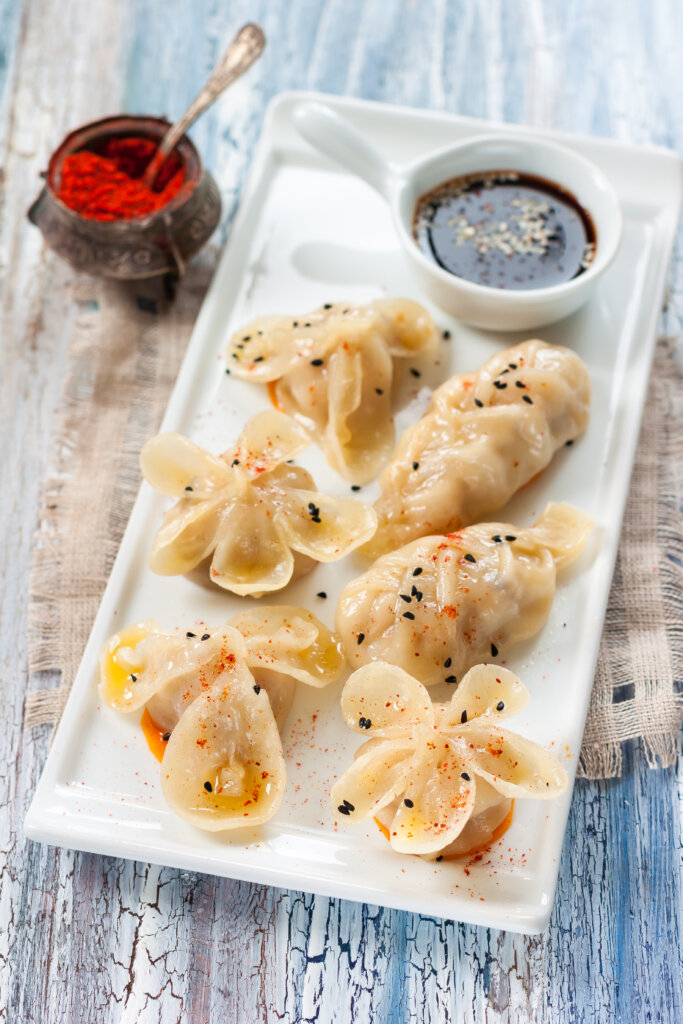
The Goldfish Dumpling Fold
For a truly showstopping dumpling fold, look no further than the almighty goldfish dumpling which is (shockingly) not as difficult as it looks!
To make your dumpling like a goldfish, you place your filling in the middle, fold your wrapper in half then pinch in the middle only (leaving both sides open).
Then, you pinch and fold one end inwards, meeting in the middle to create two “eyes” for the goldfish’s head and press down with your palm on the other end to flatten it and make a tail (all the better if you can roll out the end a bit with a rolling pin).
The last step is to use a dough scraper to make little crinkle-esque indentations on the tail before making three cuts which you can fan out/shape to make the perfect gorgeous goldfish tail.

This technique is especially beautiful when you are making crystal skin dumplings which are more translucent than the standard flour wrappers, but it’s impressive either way. Bonus points if you add a bit of food colouring/spices for realism.
You can watch this dumpling folding technique in action here.
The Mooncake Flower Dumpling
This is one of my favorite dumpling hacks from TikTok, and it involves wrapping your dumpling filling in a colorful wrapper, then scrunching it into a ball and using a mooncake mold like this one to turn it into a perfectly gorgeous flower shape.
You can watch this dumpling folding technique in action here.
The Mini Cabbage Dumpling Fold
One of the most adorable dumpling folding techniques I’ve ever seen is using creative dyes to turn your dumplings into tiny cabbages!
While this dumpling shape does take a bit more work, the results are well worth it.
To make cute mini cabbage dumplings, you need to dye some of your white dumpling wrapper dough green. Pureed spinach works great for this purpose!
Then you roll your white wrapper out in a long rope shape (as you normally would before you divide it into pieces to roll out), and roll your green dough out so it can wrap around your white dough rope. After this, you can section of pieces of dough as normal, and upon rolling out the wrappers, you’ll have cute dumpling wrappers with green edges!
After this, you can just fold the dumplings as normal (the half moon fold works great for this), with some additional crimping and pinching to add a wavy pattern at the top to make the dumplings look more cabbagey.
You can watch this dumpling folding technique in action here.
The Adorable Character Dumpling Fold
If you are looking for the cutest possible way to embellish dumplings, then check out these adorable character dumplings.
To make these, you basically start with a classic Rosebud Dumpling Fold (folding and sealing it in half, then joining the edges to create a plump circular dumpling), then you add some ears with dough leftovers, and tiny dyed dough details for the eyes, nose and cheeks.
NOTE: Sesame seeds might be a good hack for the eyes if you don’t have black dye or charcoal.
BONUS: Rice Paper Dumpling
Lastly, we have an ultra-easy dumpling folding hack (again, from TikTok!) that is perfect if you’re craving tasty customizable dumplings with a fraction of the work.
Through subbing in two sheets of rice paper for conventional flour-based dumpling wrappers, you can easily create a “dumpling” type creation that requires much less work. All you need to do is wrap the rice paper around the filling like a little gift, and you’re good to go.
Sure, these may look a bit more like spring rolls than dumplings, but they’re delicious nonetheless.
You can see an example of this technique in this TikTok by @okonomikitchen.
Have any other fun ways to fold dumplings?
Share your techniques below! I’d love to add more to this list.