*FYI - this post may contain affiliate links, which means we earn a commission at no extra cost to you if you purchase from them. Also, as an Amazon Associate I earn from qualifying purchases. Check out our Privacy Policy and Disclosure. for more info.
Alright, so you’ve learned all about the best types of Chinese dumplings, read my recipes for foolproof pork dumplings and vegan potstickers, brushed up on how to fold dumplings, and now you’re wondering how to make your own Chinese dumpling wrappers from scratch?
Well, my ambitious friend, you’re dough-finitely in the right place.
Now, let’s start by saying that there’s no shame in the pre-made wrapper game. In fact, I often still use these in a pinch, as they taste great, and save literal hours of work.
… But sometimes, storebought just doesn’t cut it. Whether you need extra fresh and pliable dumpling wrappers to make fancy folds, or you want to experiment with sizes and colors, there are times when making your own dumpling wrappers can make all the difference.
Luckily, it’s easy once you get the hang of it.
At its core, the key to making a great dumpling wrapper is simply the right proportions of starch and water. In this post, I’ll be sharing my dad’s recipe. He’s a Chinese chef of 40+ years, so I trust him, even if his methods can be a little chaotic and random.
So, who’s ready to learn how to make dumpling wrappers from scratch? I hope it’s you, otherwise this is going to get awkward.
Ingredients for My Dad’s Homemade Dumpling Wrappers
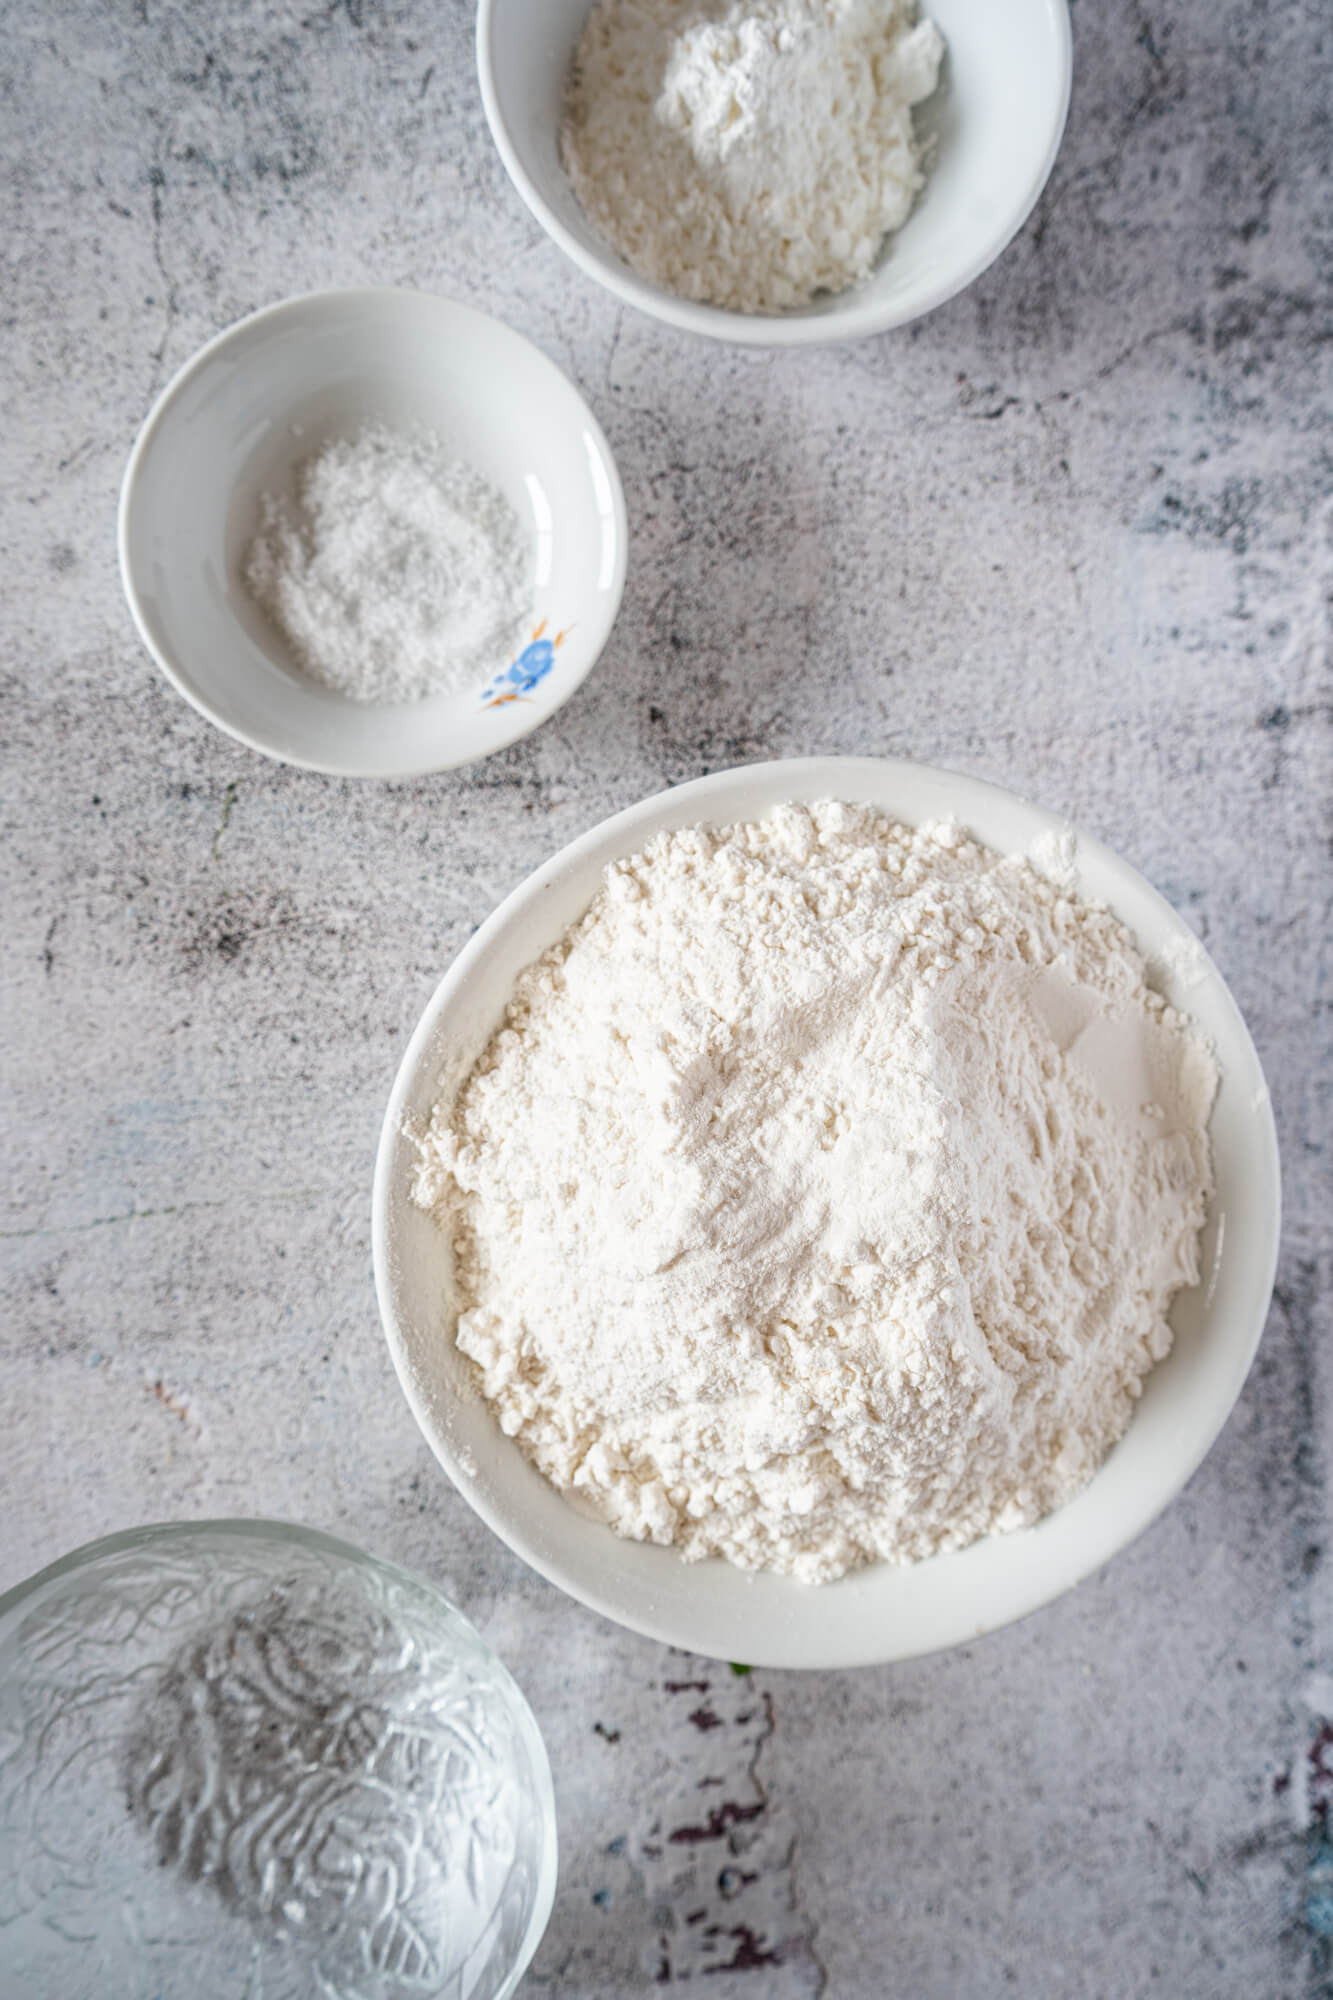
The ingredients for making your own dumpling wrappers is easy! Here’s all you need:
- 460g flour
- 40g potato starch
- 3g (1/2 tsp) salt
- 280mL water
Tips on How to Make Chinese Dumpling Wrappers Perfectly
Before we hop into the step by step instructions for dumpling skins, there are some important must-knows and tips for success. Here they are!
Tip #1: Go by the feeling of the dough, rather than strictly by measurements
Texture and consistency is key to a good dumpling wrapper, which is why it’s important you pay most attention to how the dough feels, rather than following the measurements to a tee.
In reality, there’s no way to give you exact measurements that will yield the same results every time for everyone because different types of flour absorb water differently, and cup/spoon measurements are never fully accurate.
Don’t worry though – simply focus on kneading your dumpling wrapper dough until it feels soft, smooth and pliable, and you’ll be fine. The goal is have dough that has no cracks, no crumbliness, and leaves zero sticky residue on your hands.
So, use the measurements in this recipe as a jumping point, and adjust as needed, adding a tiny bit of water if it feels dry, and a tiny bit of flour if it feels sticky.
Tip #2: Adjust the recipe little by little
On that note, if you do find yourself adding flour or water to make the perfect dough, make sure you do so very very very gradually.
Dumpling wrapper dough is fickle. It’s wild how quickly dough texture changes when you add even just a tiny bit of additional water or flour, and if you’re not careful, you get trapped in a vicious cycle of adding a bit more flour, a bit more water, then a bit more flour again, over and over in a frustrating vicious cycle.
My method for adding the tiniest bit of flour or water? I use my hands!
For instance, if my dumpling dough is too dry, I dunk my fingers in some water then knead the dough. This allows me to add only a bit of water, rather than dealing with spoons or cups.
Likewise, if the dumpling wrapper dough is too wet, I dip my fingers in some flour and slowly incorporate it into the dough until I get the perfect consistency.
Tip #3: Let your homemade dumpling wrapper dough rest
Another important tip is to let your dough take a nap before you use it.
Yup – overkneading dumpling wrapper dough can result in an elasticky mess that’s difficult to roll out, which is why letting it rest at room temperature for minimum 30 minutes is crucial for letting the dough relax.
Don’t forget to wrap it up nice and tight in a plastic wrap blanket so it doesn’t dry out.
Tip #4: Use a round cookie cutter to cheat your way into perfect wrappers
If you ever watch videos of professionals making dumpling wrappers by hand, you’ll see they’ve somehow mastered this unbelievable technique where they roll out each piece of dough with a tiny rolling pin to create a perfectly round wrapper that’s thicker in the center and thinner on the outside.
… Yeah… that’s really not as easy as they make it look!
On my first few attempts at this technique, I’ve always ended up with misshapen blobs…
But I have a hack for that!
If you want to attempt this hand rolling method but haven’t quite nailed it yet, you can always roll it out the best you can, then use a cookie cutter to trim off any blobby excess and create more uniform dumpling wrappers.
Or (quite honestly) if you want to just roll out your dough really thin and cut your wrappers out with a cookie cutter, the results will be pretty great too.
While the traditional technique is to have a thicker center and thin edges, the difference to an untrained palette will not be particularly noticeable, and the time/stress you save might be well worth it! No judgment here.
Step by Step Instructions for How to Make Your Own Dumpling Wrappers
Alright, now let’s get to the step by step instructions. Sure, DIYing your own dumpling skins at home might feel like a lot of work, but it makes a world of difference when it comes to folding. Here’s how you do it!
1. Add all your ingredients together
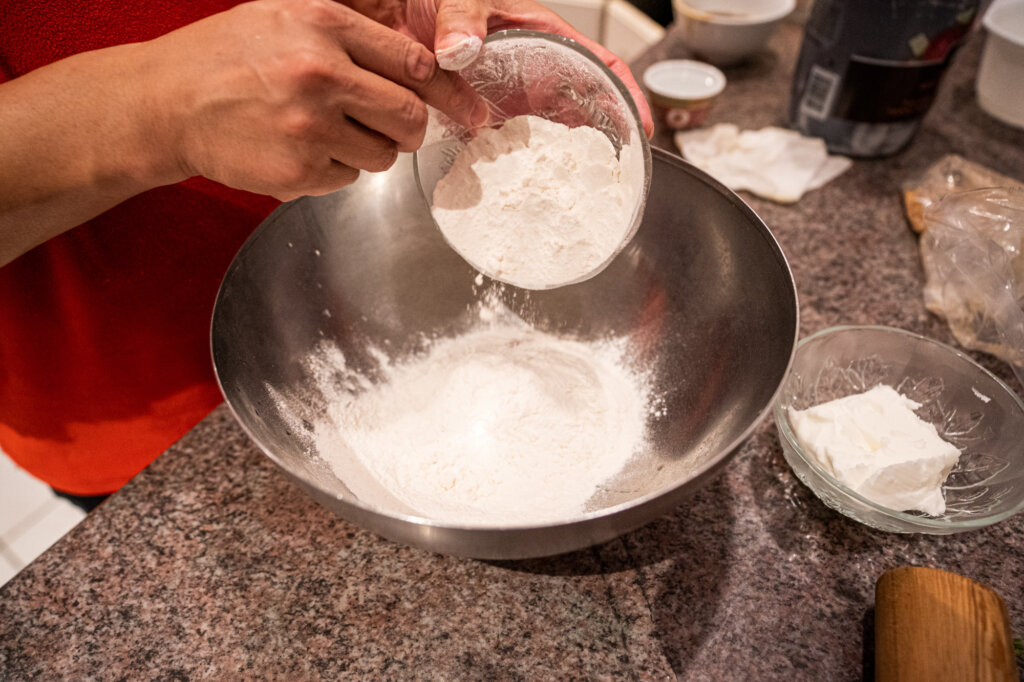
In a large bowl, mix together your flour, potato starch, and salt. My dad likes to use chopsticks for this, but feel free to use your own mixing utensil of choice!
Gradually add your water in, while still mixing.
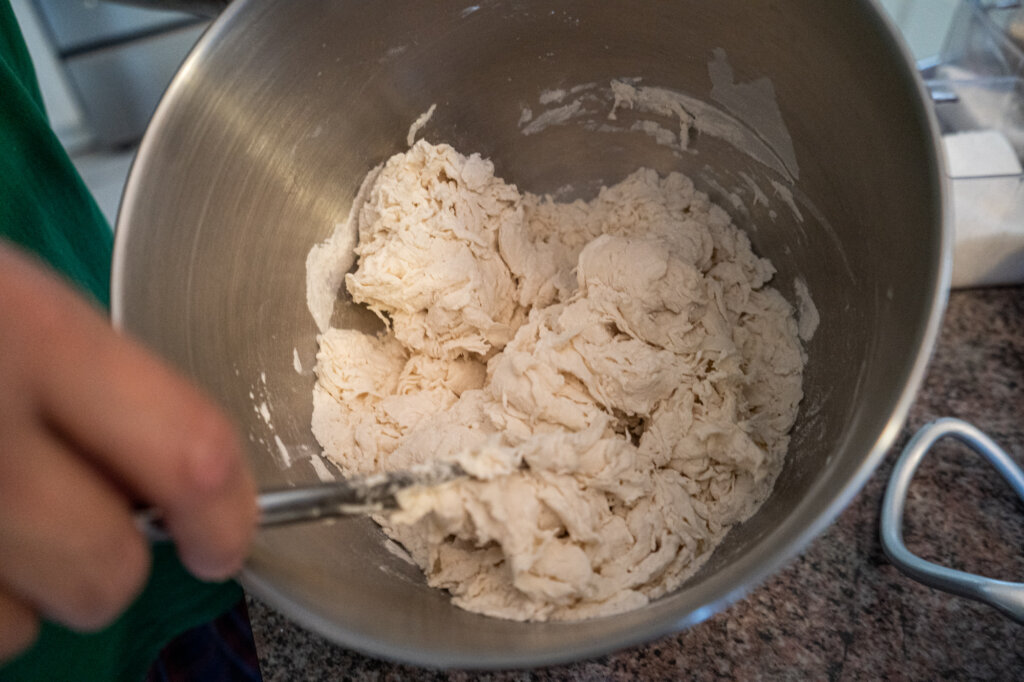
2. Mix or knead
My dad likes lazy shortcuts, so at this point you can simply mix everything together in a mixer for about 10 minutes until firm but pliable.
If you’re old school like me (or lack fancy appliances), then you can also just knead your dough by hand.
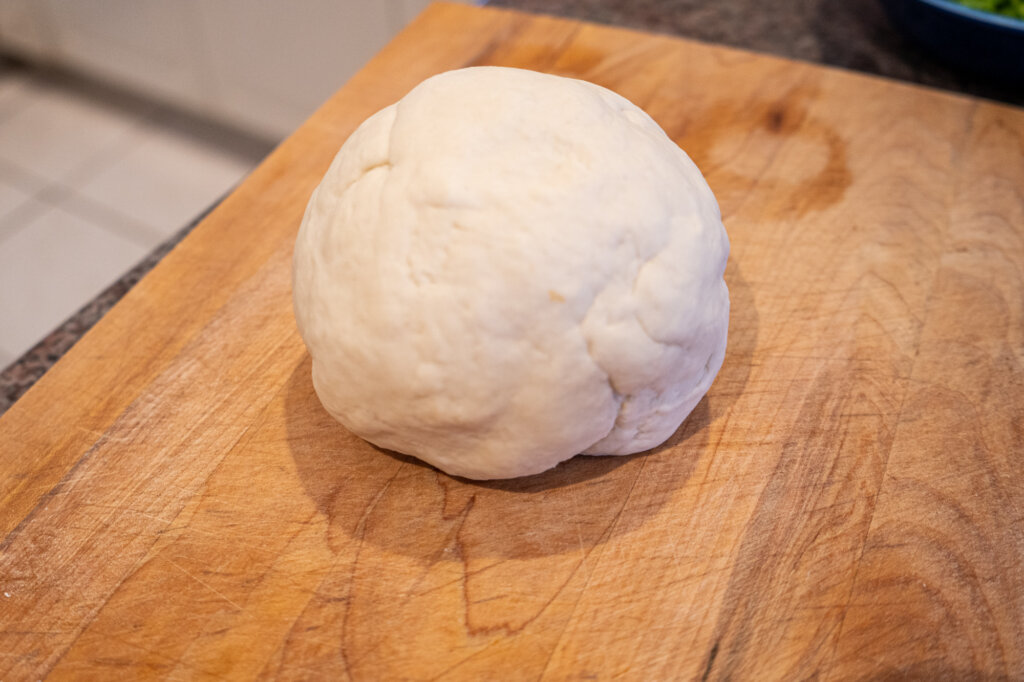
Your end goal is to have a ball of dough that is soft, smooth and pliable, with no cracks or crumbliness. It also shouldn’t leave any sticky residue on your hands.
If you’re having trouble getting to that ideal texture, then add a tiny bit of water (if it’s too dry), or a tiny bit of extra flour (if it’s too wet).
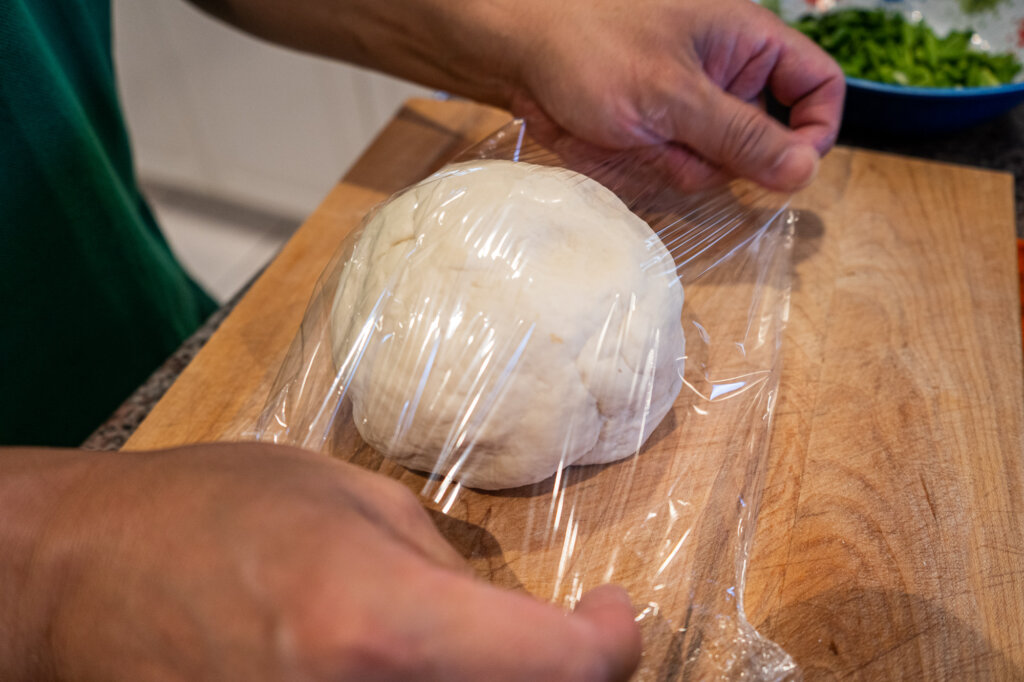
3. Let it rest
Wrap your cute little dough ball in some plastic wrap and let it rest at room temperature for 30 minutes before using.
4. Make your individual wrappers
After your dough ball friend has finished its nap, it’s time to turn it into individual dumpling wrappers.
To do this, divide your dough equally into thirds. At this point, you have two options for how to get your wrappers into the right shape.
OPTION A:
Roll each third out into a long rope.
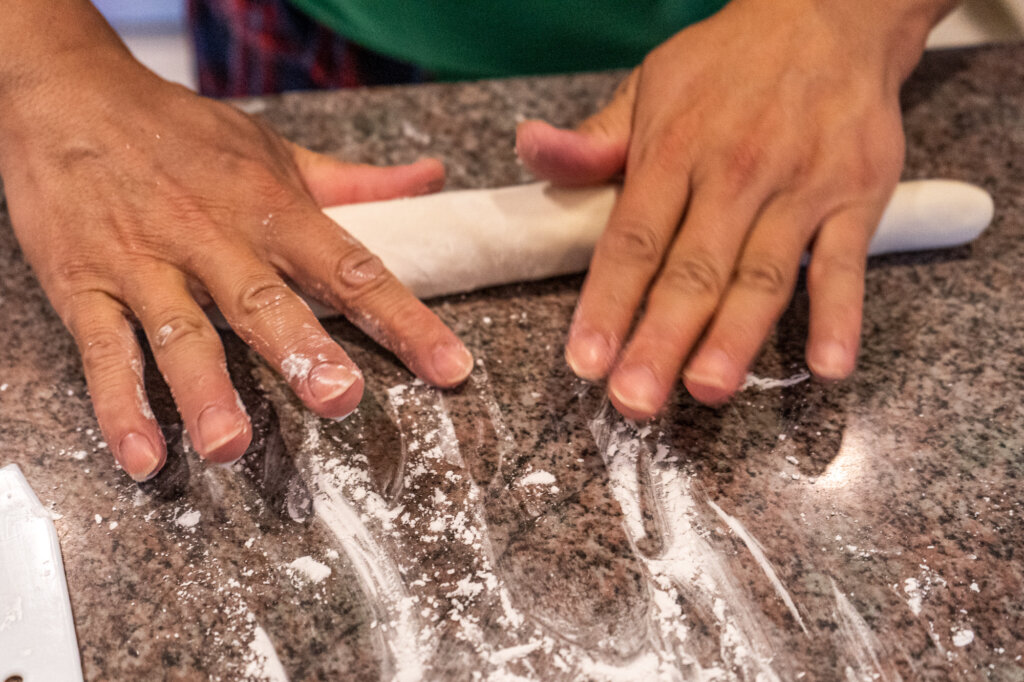
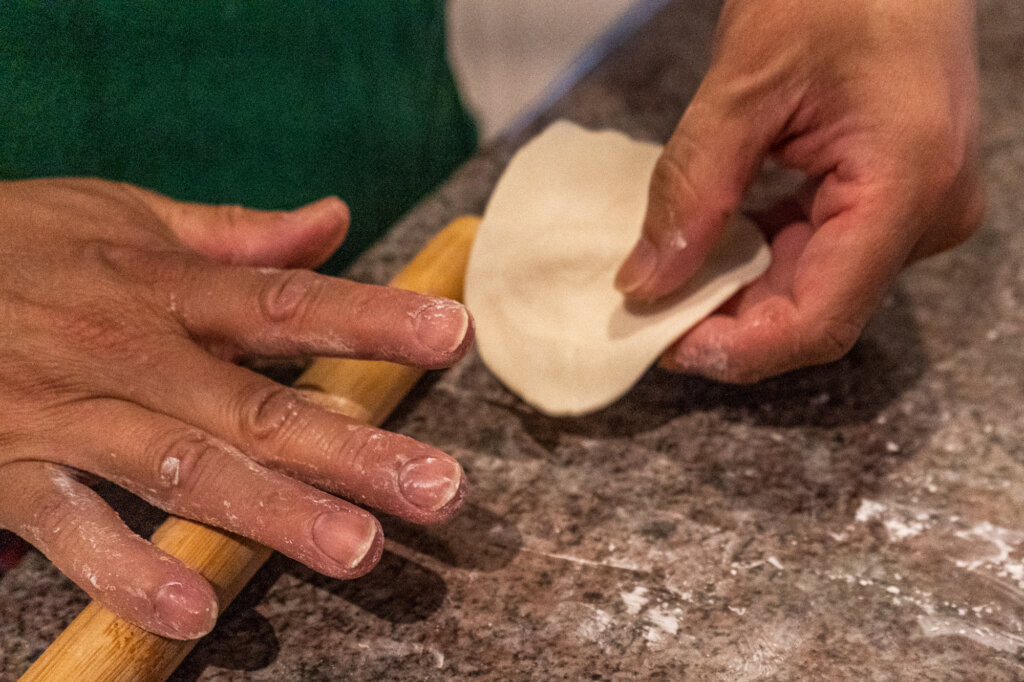
Then divide each third into equally sized pieces weighing about 12g.
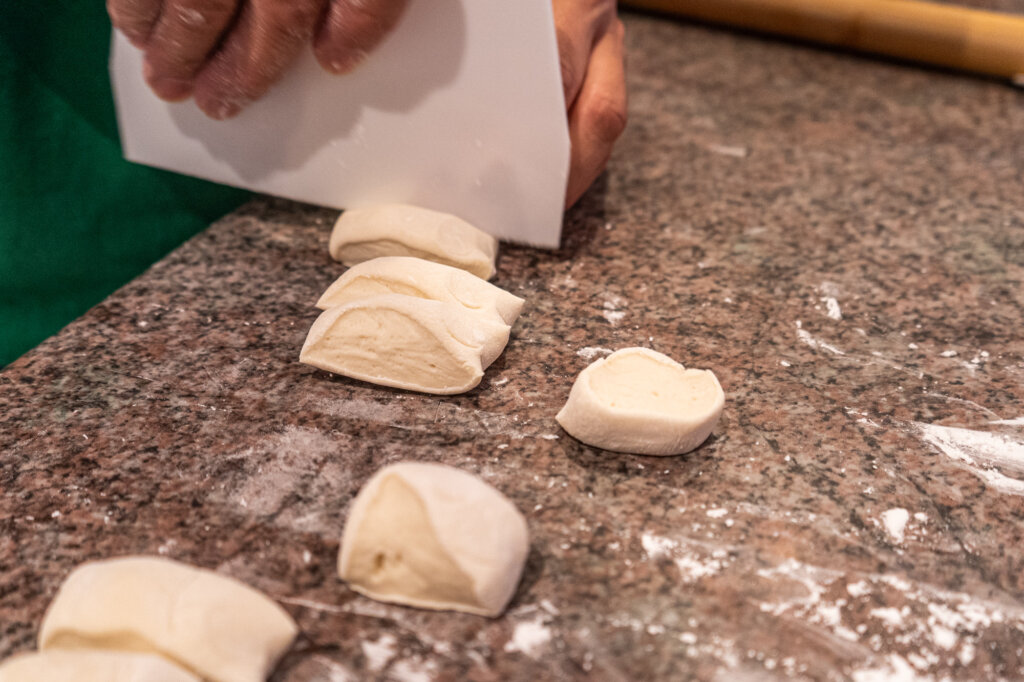
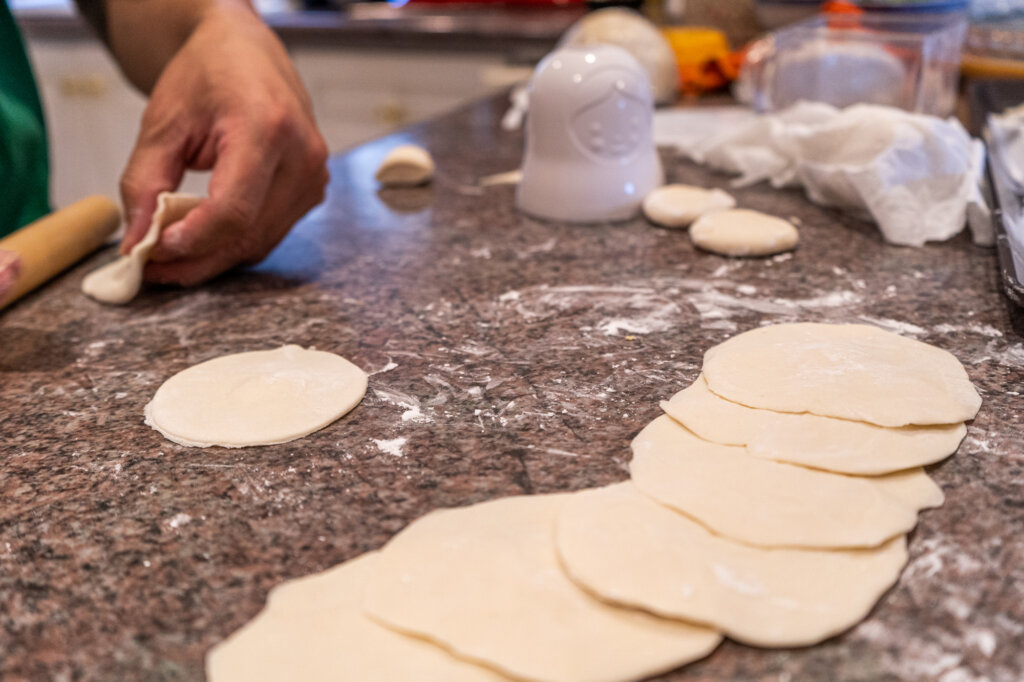
For each dough portion, roll it into a sphere with your palms, then flatten it down. Then, use a rolling pin to roll out the edges of the wrapper, rotating it after each roll to make sure you are getting all the edges.
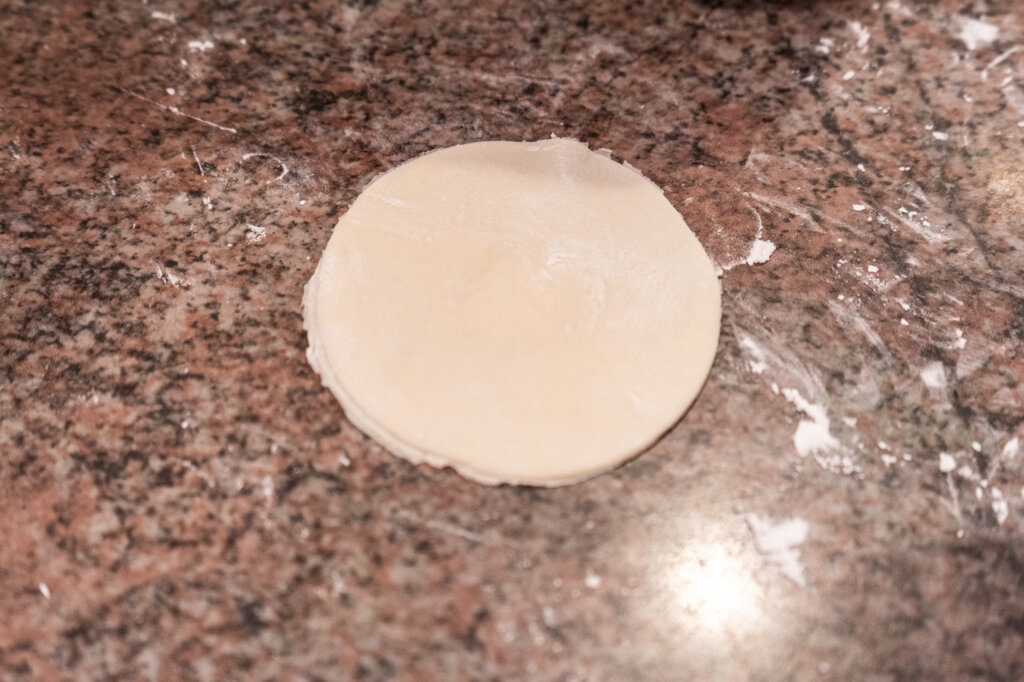
If you’re super skilled and your wrapper is round enough to work with at this point, then set it aside, using a bit of cornstarch under/between wrappers to keep them from sticking together.
If your edges look a little wonky, feel free to use the hack I explained above and use a round cookie cutter or cup to get that perfect circular shape.
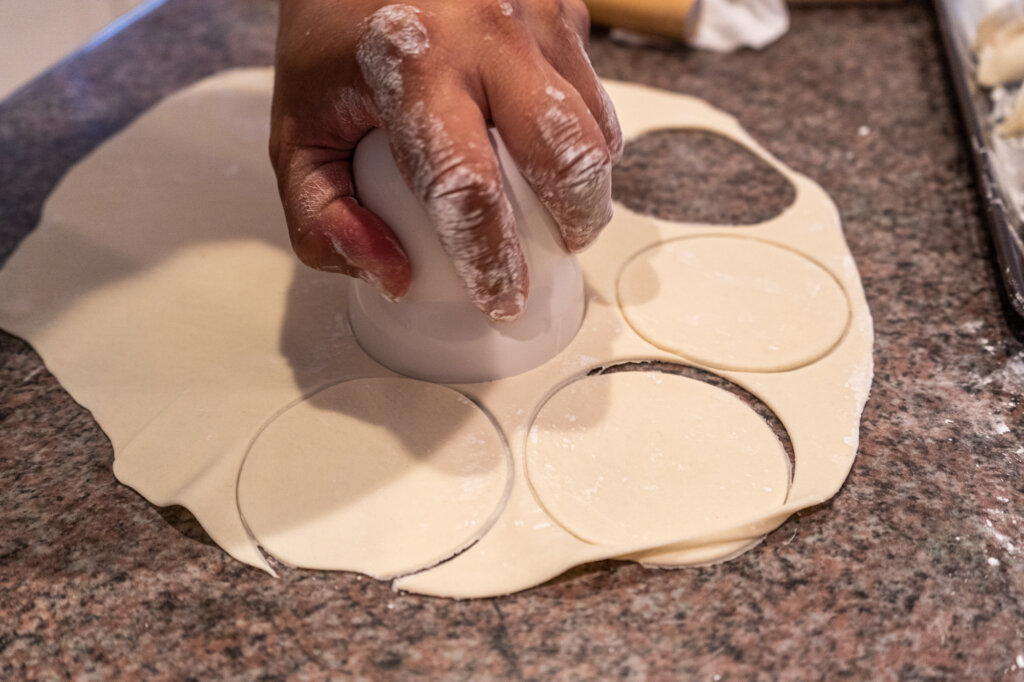
OPTION B:
Simply roll out each third into a thin sheet, and use your round cookie cutter to cut out your wrappers.
Keep making dumpling wrappers with your preferred method until you’re out of dough, and then you’re ready to wrap!
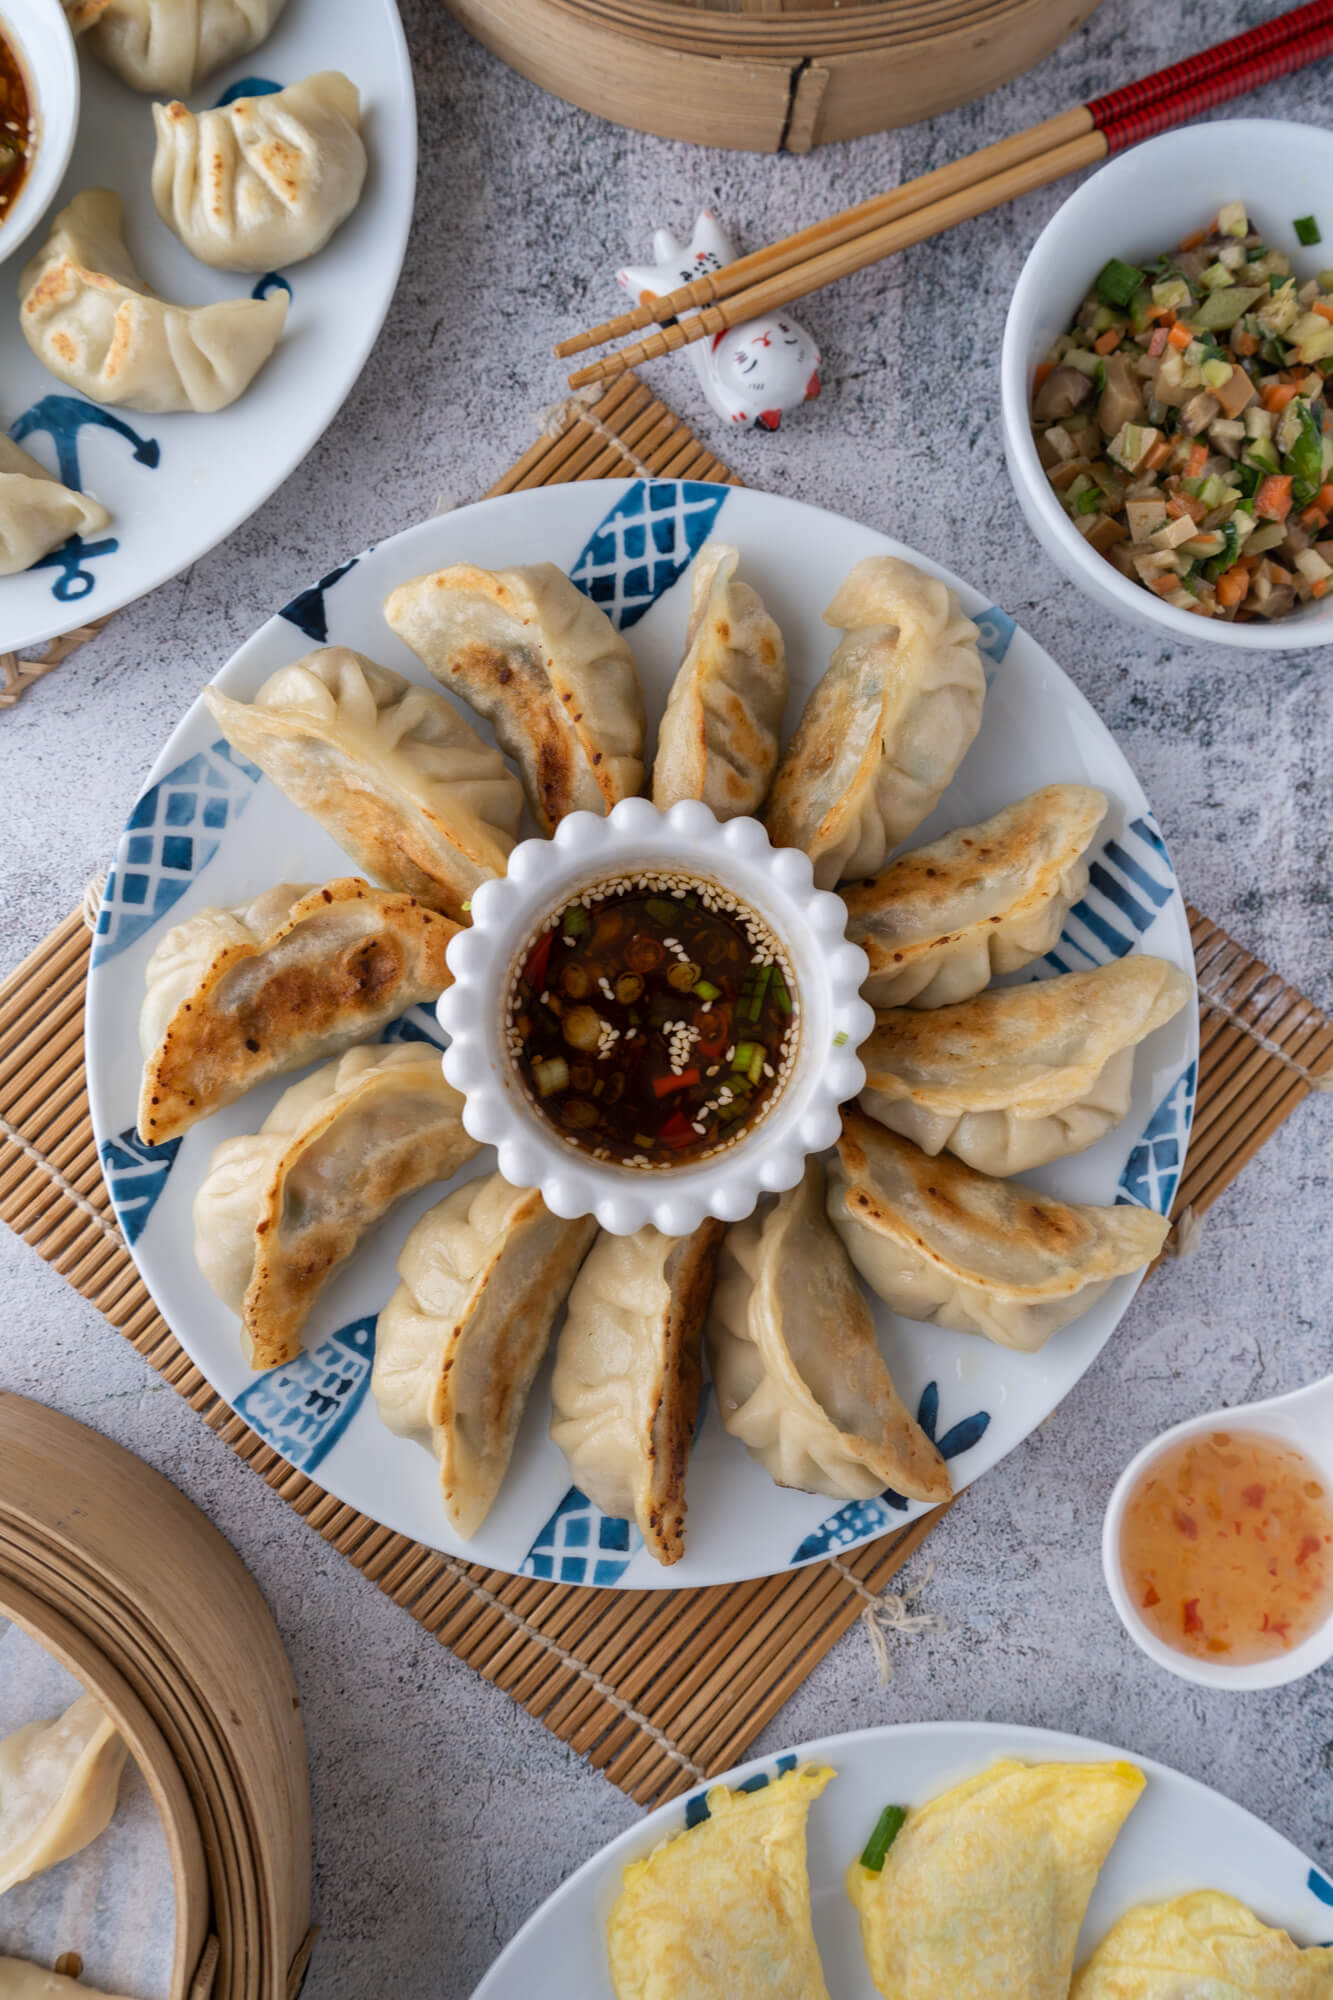
Looking for delicious dumpling filling ideas? Check out these recipes:
We Hope You Enjoyed Our Guide on How to Make Your Own Dumpling Wrappers!
As with all things dumpling, practice makes perfect, so give this method a try a few times and I’m sure you’ll be a pro in due course. In the meantime, I hope you enjoy the tasty spoils of your culinary pursuits, no mater how misshapen or awkward looking!